
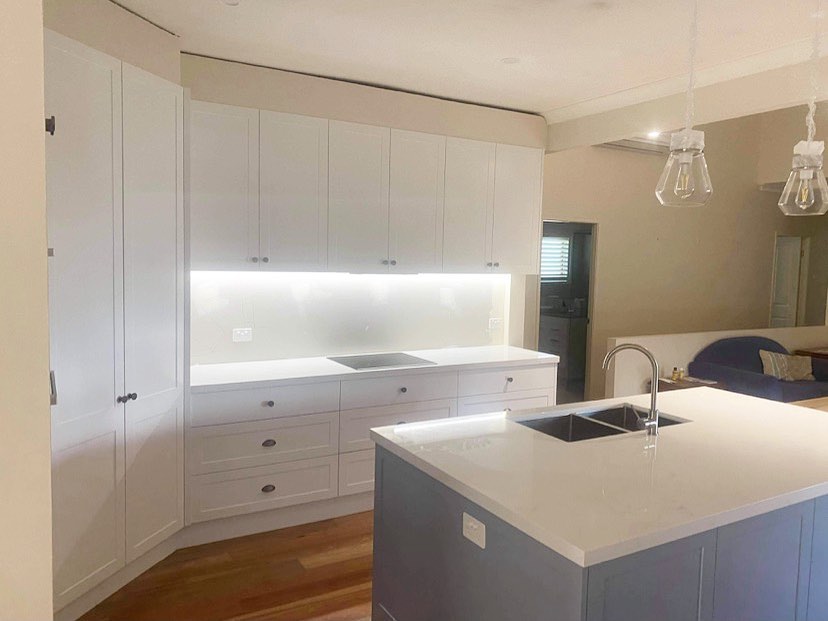
Imagine waking to the sound of drip, drip, drip in your Gold Coast home – a bathroom or kitchen sink faucet that won’t stop leaking. You’re not alone (and you’re definitely not alone in finding it maddening). That constant dripping faucet not only drives you crazy at night, it quietly wastes water, hikes up bills, and even rots cabinetry over time.
The good news? A little sink faucet repair can stop the drip, save water (and money), and give your kitchen or laundry a little health check. Today we’ll chat about why sink faucet repair matters, what typically causes those leaks, and how even a handy beginner can fix simple taps themselves. Let’s stop the drip and start saving water – Aussie style!
Why Sink Faucet Repair Matters
Every drop counts, especially in sunny Australia. Just one dripping faucet can waste thousands of litres of water each year. For instance, a single drop-per-second leak loses about 20,000 L per year – enough to fill a small pool.
Even a slow drip costs cash: Sydney Water notes a slow-dripping tap wastes a few litres each hour, adding “tens of thousands of litres a year” to your bill for no benefit. In dollar terms, that’s hundreds of extra dollars thrown down the drain annually if left unchecked.
Leaks aren’t just about water waste. They can quietly damage your home. Moisture from a drip warps wood, grows mold, and undermines benchtops. As Antons Plumbing warns, “constant moisture around the sink creates conditions for mould growth, timber rot, and damage to cabinetry and benchtops”.
So fixing a leaking tap early isn’t just about peace and quiet — it’s about protecting your floors, cabinets and sanity. Plus, modern taps are way more water-efficient. Upgrading old fixtures or fixing them promptly can halve your tap water use. For example, swapping to a WELS 4-star tap can reduce water use by up to 52%. In short, sink faucet repair saves water, money and headaches – a true triple win.
Common Causes of a Dripping Faucet
Have you ever wondered why that kitchen sink tap drips when it’s supposedly off? Most drips come down to worn internal parts. Here are the usual suspects:
Worn Washer or O-Ring: Traditional (compression) taps use rubber washers or O-rings to seal water flow. Over time, these wear thin or harden, and a tiny gap lets water through. Replacing the washer usually fixes the drip.
Faulty Cartridge or Valve: Modern single-lever taps and quarter-turn taps use ceramic cartridges or disc cartridges instead of washers. If a cartridge seal is damaged or misaligned, the tap will drip. Swapping in a new cartridge (correctly sized to your tap) does the trick.
Corroded Valve Seat: The valve seat is the metal surface where the washer presses to stop water. Mineral deposits or rust can pit the seat so a new washer won’t seal. A tap reseating tool can smooth it, or a plumber may replace the seat.
High Water Pressure or Loose Fittings: If water pressure is too high, you might see drips or seeps around handle bases. Also, a loose bonnet nut or packing can let water leak up. Tightening fittings or adding thread tape often helps.
Old or Damaged Tap Body: Simply, old taps corrode. Cracks in the tap body or cartridge housing will leak no matter what you replace. In that case, a new tap installation is often the best solution.
Even tricky taps like ball-type or ceramic-disc models (common in new Gold Coast kitchens) have their quirks. For example, ball taps have multiple springs and seals and may need full rebuild kits; ceramic-disc taps might just need a cartridge swap.
0The point is, identifying the tap type (two-handle compression, single-lever mixer, etc.) is the first step in sink faucet repair. A quick trick: turn the handle fully off and feel how many turns it makes. Endless turns = old-style washer tap; quarter-turn = modern cartridge tap.
DIY Sink Faucet Repair: Tools & Steps
You might be surprised how often a drip is fixable with basic DIY. With a few tools and a bit of patience (and maybe a fun cold beer after), you can stop that leak yourself. Here’s how to tackle it:
Essential tools & parts:
- Adjustable wrench or tap spanner: For loosening nuts.
- Flat-head / Phillips screwdrivers: To remove handle screws or caps.
- Pliers (multi-grips) with cloth padding: For stubborn collars or valves.
- Replacement parts: Tap washers (jumper valves), O-rings or a repair kit for your tap type. In Australia you can grab assorted washer kits ($10-ish at hardware stores) and common O-rings cheaply. For mixer/ceramic taps, take the old cartridge to Bunnings or Mitre 10 to match the new one.
Step-by-step fix (washer tap):
Every tap is a little different, but the workflow is similar. Below is a general guide; adapt as needed for your tap:
Turn off the water: First things first – always shut off the water. Locate the isolation valves under the sink and turn them clockwise to close. If none, shut off the mains (usually outside at the meter). Open the tap fully to drain any water and relieve pressure.
Remove the handle: Peel off any decorative cap (top of a handle) or cover, uncovering a tiny screw. Unscrew it and lift off the handle. On lever taps, there may be a small set screw on the side or underside. Keep screws safe (on a cloth or tray) so they don’t roll away.
Access the inner mechanism: Under the handle, you’ll find a collar or bonnet nut. Unscrew this (by hand or with spanner) and remove it. Now the inner stem or cartridge is exposed. For washer taps, the “spindle” lifts out. For cartridge/mixer taps, you may need to remove a retaining clip or nut to pull out the cartridge or ball assembly. (Pro tip: snap a photo with your phone at each stage. You’ll thank yourself reassembling later!)
Inspect and replace worn parts: Look at the removed washer/O-rings. Any cracks or flattening? These are your culprits. Peel off the old washer from the bottom of the stem and put a new one in its place. Also slide a new O-ring onto the stem if present. (Pack new O-rings with plumber’s grease or petroleum jelly – it helps them seat and last longer.) If you have a ceramic tap, replace the entire cartridge. Always get an exact match in size and brand.
Check the valve seat: With the spindle out, shine a light into the tap body. If the brass valve seat looks grooved or pitted, a new washer might still leak. A quick fix is using a tap reseater tool (cheap, available online or at hardware). It shaves and flattens the seat surface. If that sounds scary, skip to step 7 and let your tester run while you inspect later.
Reassemble the tap: Put everything back in reverse. Insert the spindle or cartridge carefully, tighten the bonnet nut snugly by hand (and give a gentle wrench quarter-turn – don’t overtighten or strip the threads). Reattach the handle, screws, and cap.
Turn water back on and test: Open the isolation valves slowly. Listen and watch: turn the tap on and off a few times. Check under the spout and at the base. A true DIY success is no more drips. If it still leaks, double-check the seals’ seats and that nothing was misaligned.
Sink Faucet Repair Tips
Label or photograph parts: Keeping track of which washer or part goes where is crucial. Use a small container or magnetic tray for screws.
Don’t force fittings: If a nut or ring won’t budge, try a penetrating oil (WD-40) and give it a minute. Forcing can snap older taps.
Be gentle on finishes: Wrap jaws of pliers or wrenches with a rag to avoid scratching chrome or stainless steel. This is a design-savvy article, after all – we want your tap clean, not all nicked up.
Handle ceramic taps carefully: Ceramic cartridges are fragile. If yours breaks on removal, replace it with the exact model – no improvising here.
With a bit of patience, you’ll probably fix that drip. And hey, you’ll feel like a champ saving water and cash (just like an Aussie should). If you ever do run into trouble or uncertainty – say the parts are stubborn or the leak persists – that’s when it’s wise to call in a licensed plumber.
Professional Repairs & When to Call a Plumber
Okay, full disclosure: some taps really are best left to the pros. Here’s when sink faucet repair becomes a plumber’s job:
Deeper leaks: If you replaced the washer and it still drips, the problem might be a seriously corroded valve seat, a cracked tap body, or a misaligned ceramic disc. These issues often need specialty tools or parts.
No isolation valve: In Queensland it’s legal to change a washer yourself, but if you have no way to shut off individual tap water safely, don’t hesitate to phone a plumber. Turning off the main might flood other fixtures.
License requirements: In NSW, replacing even a tap washer is technically licensed work. Gold Coast (QLD) is more lenient: minor repairs like washer swaps can be DIY, but full tap replacement or altering pipework requires a licensed plumber. If in doubt, put down the wrench.
Multiple leaks or high pressure: If several taps are dripping, or everything in your house is leaking due to high pressure, you probably need a pro to inspect water pressure regulators and pipes.
Complex taps: Some modern or very old taps have tricky assembly (hidden screws, special collars). After a couple of failed attempts, a professional can save time.
Cracks / severe corrosion: Any leak from the base of the tap, or signs of metal fatigue, means the entire tap or a big part of it should be replaced professionally.
On cost: DIY repairs can cost mere dollars in parts (washers and O-rings are cheap). By contrast, having a plumber come out runs the gamut. For example, expect roughly $80–$200 for a simple washer swap (mostly call-out fee). A new mixer cartridge can push $150–$280 or more. It depends on your area and the plumber – Gold Coast plumbers often charge similar rates. Many plumbers offer a fixed price for sink faucet repair, or $0 call-out plus an hourly rate. Bundling jobs helps: “if you have several dripping taps, get them all done in one visit”.
In any case, ask for quotes and always confirm they’ll use quality parts up to Australian Standards (AS/NZS 3500). After all, you don’t want a cheap Chinese-made O-ring that fails in a month. If quality or warranties matter to you (and they should), hiring a licensed Gold Coast plumber is worth it. They’ll not only fix the leak but ensure the whole system stays sound for years to come.
Tips for Long-Lasting Faucets & Efficiency
Once your tap is fixed, you’ll want it to stay that way. Here are some style-and-substance tips:
Clean aerators regularly: Minerals in Gold Coast water can clog the little screen at the tap’s tip. Unscrew the aerator, soak it in vinegar to dissolve scale, and rinse. Clean aerators not only flow better but reduce back-pressure on seals.
Gentle is better: When turning off taps, teach yourself to stop when water just stops. Over-cranking the handle can crush washers and valve seats. Just a firm hand tight is enough.
Check base after use: Wipe around the base of your sink taps after each use. A bead of water on a normally dry surface means an O-ring is starting to leak. Catch it early, replace the tiny O-ring, and avoid cabinet damage.
Watch your water pressure: Gold Coast homes can hit high pressure. If taps hiss or hammer, consider installing a pressure limiting valve. Lower pressure means less stress on all fixtures.
Upgrade to water-efficient taps: New tap designs (WELS rated) are both trendy and eco-friendly. Modern mixer taps can give you full flow when needed but much lower flow at moderate settings. Over time they reduce your water bill. In fact, replacing an old tap with a WELS 4-star model can cut usage by ~50%. Supporting water-efficient practices at home also aligns with Queensland’s water planning and conservation initiatives. Learn more about the state’s water plan areas.
Choose good brands: Australia has quality tapware brands (Methven, Dorf, Caroma, Milli, etc). If you do replace the tap, pick one with good spares availability. The right tap installed correctly (to AS/NZS 3500) will give you years of drip-free style.
By paying attention and maintaining your taps, you’ll spend far more time enjoying your Gold Coast kitchen or bathroom than fixing it. A bit of preventive care goes a long way, and it’s in perfect Aussie spirit – we love handy solutions that save time, money and water!
Conclusion
A dripping faucet is an easy thing to ignore… until it isn’t. But sink faucet repair is often surprisingly easy and very worthwhile. Whether you tackle it yourself with a wrench and a new washer or call in your friendly Gold Coast plumber, the end result is the same: no more drip, a little more cash in your pocket, and peace of mind.
The next time that pesky leak starts, remember you’ve got the knowledge (and the tools) to fix it. Save water, fix the drip, and maybe even upgrade your taps while you’re at it.
If you ever feel stuck, remember: licensed plumbers are only a call away, ready to handle tricky valve seats or worn-out tap bodies. Otherwise, roll up your sleeves – you’re now empowered to stop that drip. Do it today, and enjoy a quieter home, lower bills and a sense of pride knowing you saved the day (and the data).
Ready to stop the drip? Grab that wrench if you’re confident with a DIY fix, or get in touch with a trusted Gold Coast plumber for expert help. Either way, your home – and your water bill – will thank you.
Frequently Asked Questions
Why is my sink faucet still dripping after a repair?
Often it’s a stubborn valve seat or a damaged cartridge. Even a new washer can’t seal if the seat is pitted. You may need to reseat the valve or replace the whole cartridge or tap.
How much does kitchen sink tap repair cost on the Gold Coast?
A simple washer/O-ring swap by a plumber runs about $80–$200 (mostly call-out fee). A cartridge swap is more (around $150–$280). DIY fixes cost only parts, a few dollars.
Can I do a leaking sink faucet repair myself?
Yes for basic fixes. In QLD replacing a tap washer or O-ring is unlicensed work. A plumber’s guide says most homeowners can handle it if they have tools. Just shut off water first and follow steps.
How much water does a dripping faucet waste?
A lot more than you think! Even one drop per second can waste ~20,000 L/year. That’s hundreds of dollars extra bill with no benefit. Fixing a drip is usually cheaper than the water lost.
Should I tighten or replace parts if my kitchen sink tap is stiff to turn?
Stiff or noisy taps often mean worn parts or mineral build-up. Tightening may help short-term, but it’s usually better to replace seals or a cartridge. A plumber can diagnose – it’s safer than forcing a jammed handle.